logits = tf.layers.dense(inputs=dropout, units=10)
# 導(dǎo)出模型
with tf.Session() as sess:
sess.run(tf.global_variables_initializer())
saver = tf.train.Saver()
saver.save(sess, ‘model.ckpt’)
tf.train.write_graph(sess.graph_def, ‘.’, ‘model.pb’, as_text=False)
“`
這個(gè)代碼定義了一個(gè)簡(jiǎn)單的卷積神經(jīng)網(wǎng)絡(luò),用于對(duì)MNIST手寫(xiě)數(shù)字?jǐn)?shù)據(jù)集進(jìn)行分類(lèi)。我們將這個(gè)模型導(dǎo)出為一個(gè)pb文件,并將它保存在當(dāng)前目錄下。
3. 轉(zhuǎn)換為Core ML格式
接下來(lái),我們需要將pb文件轉(zhuǎn)換為Core ML格式。為此,我們可以使用Apple提供的tfcoreml工具。這個(gè)工具可以自動(dòng)將TF模型轉(zhuǎn)換為Core ML格式,并生成Swift或Objective-C代碼,用于在iOS應(yīng)用中使用。
首先,我們需要安裝tfcoreml工具。在終端中輸入以下命令:
“`bash
pip install tfcoreml
“`
安裝完成之后,我們可以使用以下命令將pb文件轉(zhuǎn)換為Core ML格式:
“`bash
tfcoreml.convert(tf_model_path=’model.pb’,
mlmodel_path=’model.mlmodel’,
output_feature_names=[‘dense_1/BiasAdd:0’],
input_name_shape_dict={‘input_tensor:0’: [None, 28, 28, 1]},
image_input_names=[‘input_tensor:0’],
image_scale=1/255.0)
“`
這個(gè)命令將pb文件轉(zhuǎn)換為Core ML格式,并將其保存為model.mlmodel文件。其中,output_feature_names參數(shù)指定了輸出節(jié)點(diǎn)的名稱(chēng),input_name_shape_dict參數(shù)指定了輸入節(jié)點(diǎn)的名稱(chēng)和形狀,image_input_names參數(shù)指定了圖像輸入的節(jié)點(diǎn)名稱(chēng),image_scale參數(shù)指定了圖像像素值的縮放因子。
4. 在iOS應(yīng)用中使用
現(xiàn)在,我們已經(jīng)將TF模型轉(zhuǎn)換為了Core ML格式,并將其保存為了model.mlmodel文件。接下來(lái),我們可以在iOS應(yīng)用中使用這個(gè)模型進(jìn)行推斷。
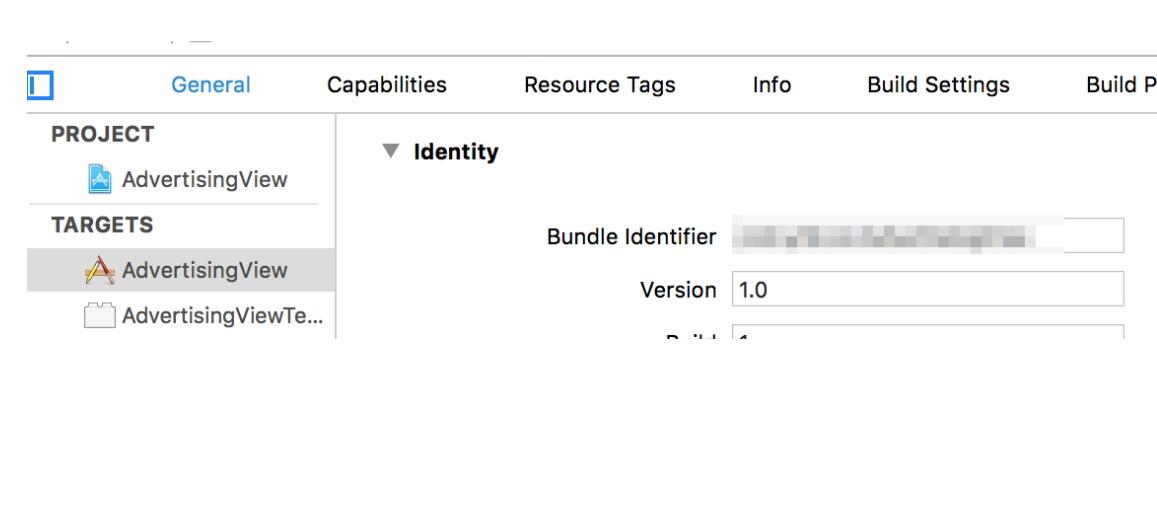
在Xcode中創(chuàng)建一個(gè)新的iOS應(yīng)用,并將model.mlmodel文件添加到項(xiàng)目中。然后,在ViewController.swift文件中添加以下代碼:
“`swift
import UIKit
import CoreML
class ViewController: UIViewController {
override func viewDidLoad() {
super.viewDidLoad()
let model = MNIST()
guard let image = UIImage(named: “test.png”), let pixelBuffer = image.pixelBuffer() else {
fatalError()
}
guard let output = try? model.prediction(input_tensor: pixelBuffer) else {
fatalError()
}
print(output.classLabel)
}
}
extension UIImage {
func pixelBuffer() -> CVPixelBuffer? {
let width = Int(self.size.width)
let height = Int(self.size.height)
let attrs = [kCVPixelBufferCGImageCompatibilityKey: kCFBooleanTrue,
kCVPixelBufferCGBitmapContextCompatibilityKey: kCFBooleanTrue] as CFDictionary
var pixelBuffer: CVPixelBuffer?
let status = CVPixelBufferCreate(kCFAllocatorDefault,
width,
height,
kCVPixelFormatType_OneComponent8,
attrs,
&pixelBuffer)
guard let buffer = pixelBuffer, status == kCVReturnSuccess else {
return nil
}
CVPixelBufferLockBaseAddress(buffer, CVPixelBufferLockFlags(rawValue: 0))
defer {
CVPixelBufferUnlockBaseAddress(buffer, CVPixelBufferLockFlags(rawValue: 0))
}
let pixelData = CVPixelBufferGetBaseAddress(buffer)
let rgbColorSpace = CGColorSpaceCreateDeviceGray()
guard蘋(píng)果調(diào)試證書(shū) let context = CGContext(data: pixelData,
width: width,
height: height,
bitsPerComponent: 8,
bytesPerRow: CVPixelBufferGetBytesPerRow(buffer),
space: rgbColorSpace,
bitmapInfo: CGImageAlphaInfo.none.rawValue) else {
return nil
}
context.translateBy(x: 0, y: CGFloat(height))
context.scaleBy(x: 1, y: -1)
UIGraphicsPushContext(context)
self.draw(in: CGRect(x: 0, y: 0, width: self.size.width, height: self.size.height))
UIGraphicsPopContext()
return pixelBuffer
}
}
“`
這個(gè)代碼使用Core ML框架對(duì)一個(gè)手寫(xiě)數(shù)字圖像進(jìn)行分類(lèi)。它首先加載了model.mlmodel文件,并將圖像轉(zhuǎn)換為一個(gè)CVPixelBuffer對(duì)象